We’ve often said that a French press is a simple brew method that gives you great results. Yet to coffee drinkers who are spoiled by pour-overs, coffee from a press seems like a compromise. Well, they’re not wrong.
With a press, you get more oils and a fuller body, which are qualities that many people love. But that same brew can be murky, gritty, and silty — a far cry from the cup clarity of a pour-over coffee.
So how can you achieve a perfect French press coffee? Read below to find out.
No-Plunge French Press Coffee
For a simple and less finicky recipe, check out our quick brew guide for an Easy French Press Coffee.
However, if it’s the weekend and you have time to spare for your morning coffee, then you might want to just clean up that brew a little bit.
It’s still pretty simple, and you only need the same equipment as a regular French press brew.
What You Need
- French Press (we used a 12oz one)
- Whole bean coffee
- Coffee grinder (preferably a burr grinder)
- Hot water kettle (I used a temperature-controllable gooseneck)
- Digital scale (or tablespoons and measuring cups)
- Timer (or your phone)
- Extra cup and two spoons (for collecting wet coffee grounds)
- Serving vessel or mug

Choose a Brew Recipe
I’m using a dark French roast, so I’ve defaulted to a 1:12 brew ratio as we suggested in our guide for French press brew ratios.
My coffee-to-water ratio will be as follows:
- 15g or 3 tbsp ground coffee
- 180g or ¾ US cup of water
Heat Your Water
If you’re using a scale, fill the kettle with more water than the recipe calls for. This is for the pre-heating process in our next step.
If you’re using measuring cups, fill and heat the kettle with the exact amount of water you need. You will also need additional hot water to preheat your brewer, which you can do beforehand.
Generally, brewing water within a temperature range of 195-205°F (90-96°C) will give you good results in the cup. But if you have a variable-temperature electric kettle or a thermometer, you can dial this in further for even better results.
A good rule of thumb is:
- Closer to 195°F (90°C) for dark roasts
- Closer to 205°F (96°C) or even higher for light roasts

Lower temperatures will prevent you from extracting an ashy, bitter coffee taste from highly-soluble dark roasts.
In contrast, higher temperatures will help maximize the extraction of lower-solubility light roasts.
If all you have is a simple stovetop or electric kettle, using ‘off-the-boil’ water gets you most of the way there.
Let the water boil, then shut the kettle off or remove it from the hob. Wait an additional minute to cool your water just enough, then start brewing!
Preheat the Press
A properly pre-heated French press will help with extraction and keep your brew hot.
Pouring hot water into your serving vessel or mug also won’t hurt! Just don’t forget to remove the water to avoid watering down your brew later on.

Prepare the Coffee
For a dark roast, 15 grams should be close to three heaping tablespoons. If you have a burr grinder (see our favorites here), produce a coarser grind— but not too rough! Aim for the consistency of coarse sea salt — almost like kosher salt.

Many of coffee’s yummiest aromatics dissipate in mere minutes, so it’s best to grind just before you need it.
Begin the Brew
Add the ground coffee to your French press and zero out the scale if you’re using one.
Then set your brewing time and start pouring water until you’ve hit your target of 180 grams. Or, if you had pre-measured the water inside the kettle, pour until empty.

You want to saturate all the grounds with water during the pour, making sure that none of the coffee particles are dry or undisturbed. If there are any dry spots, stir the grounds gently with one of your spoons.
Steep with the Lid On
Remove the French press from the scale and put the lid on. Resist the urge to plunge at this point and let the brew steep for four minutes.
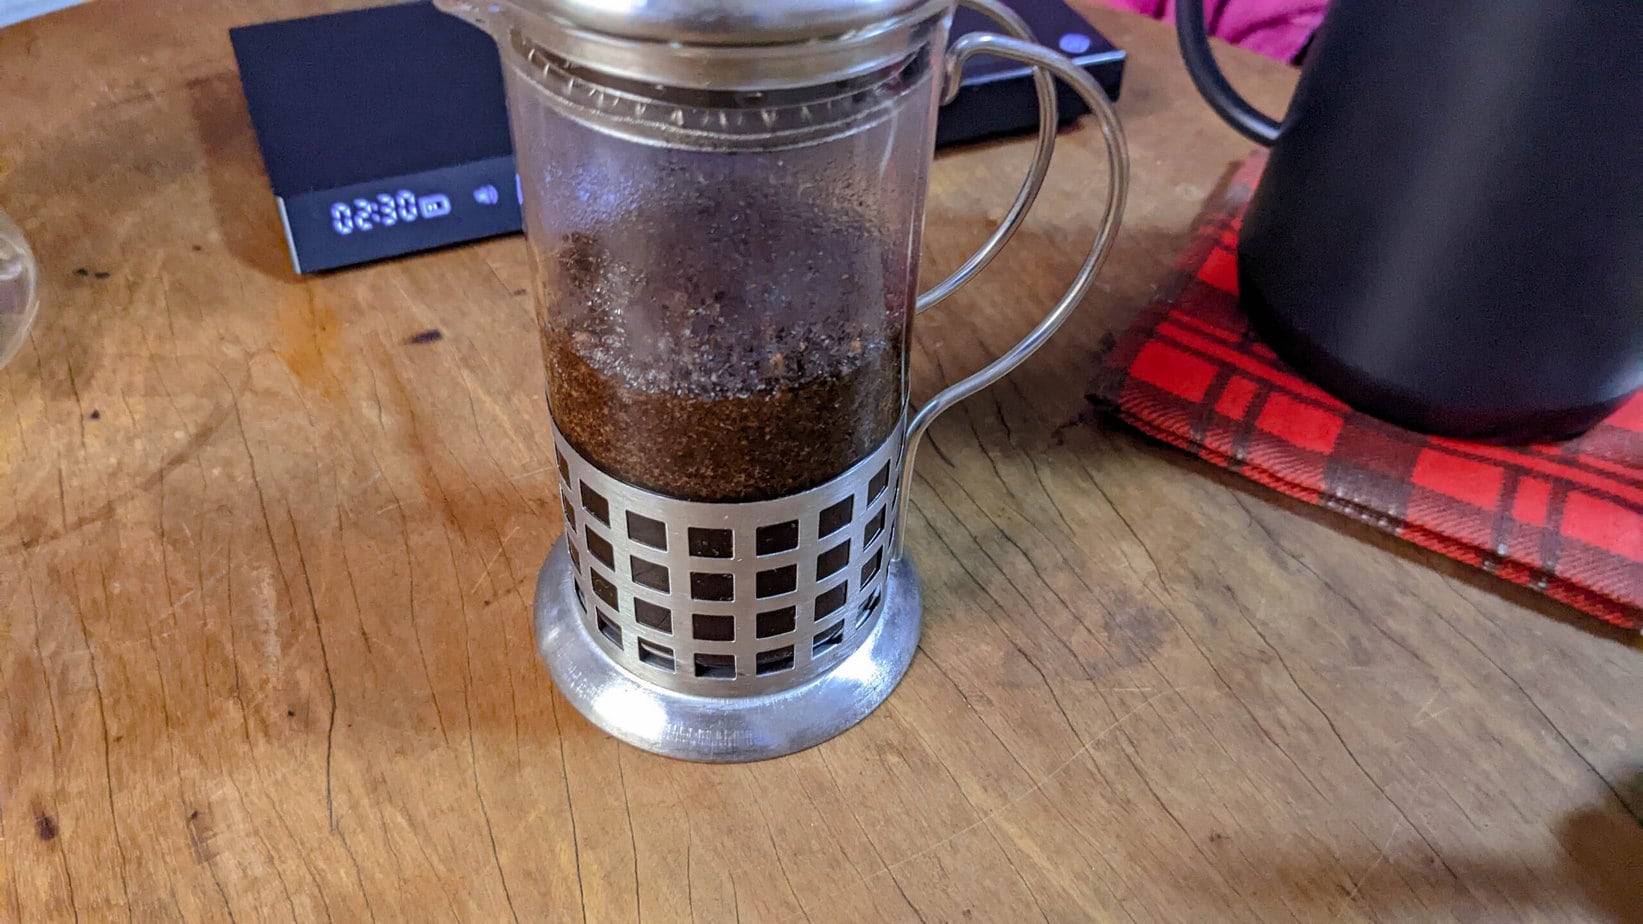
In our Easy French Press Guide, we’ve kept the lid on to minimize the number of steps in the process. But with the lid on, you’re keeping the temperature more stable, which aids with extracting more solubles from the coffee!
Skim the Surface
This next step is partly inspired by how the coffee industry evaluates coffee.
In a coffee cupping, hot water is poured onto coarsely-ground coffee in an open bowl. Participants ‘break the crust’ at the four-minute mark to allow the evaluation of aroma.
This is followed by the removal of floating grounds with a cupping spoon to prepare the cup for grit-free tasting.

We pretty much mirror this step in our French press guide, with the sniffing requirement being optional (but completely welcome!).
Remember to keep your timer running throughout.
Remove the lid first and then gently break the crust with one of your spoons. Next, take your second spoon, and carefully remove any of the floating grounds and foam from the surface of the press, discarding it into a spare cup.
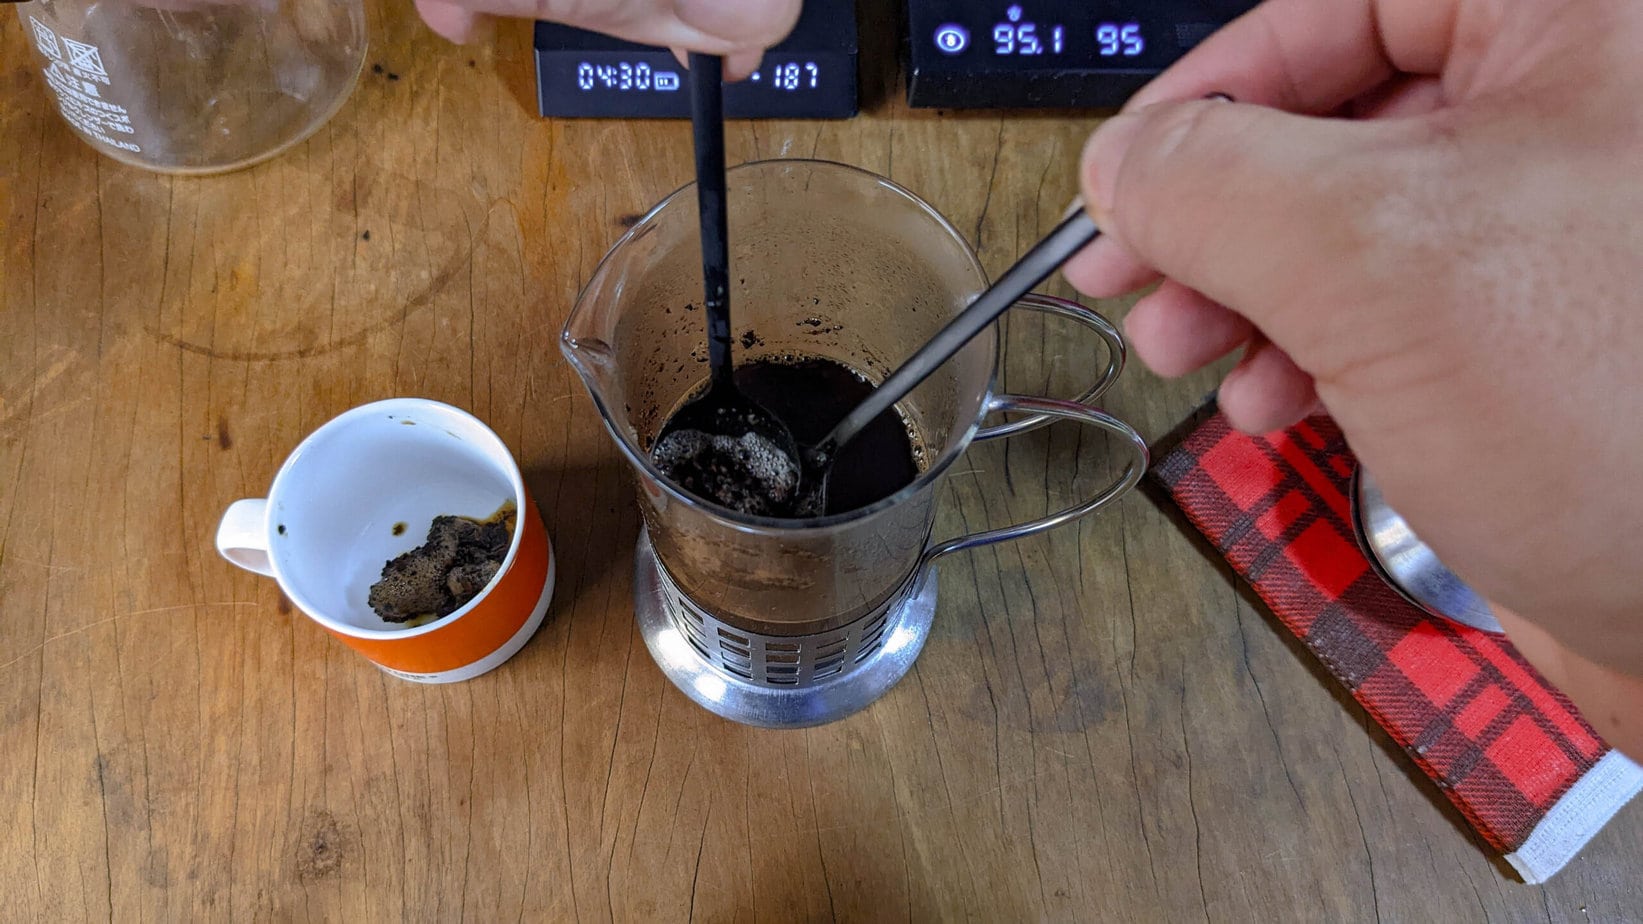
The key here is to be gentle — there is no need to dig around to remove all the coffee grounds. We just want the surface of the brew silt-free.
Plunge Partly and Wait
Put the lid on and gently plunge it just until it barely breaks the surface of the brewed coffee.
At this point, most of the brewing process is complete. But for a truly clean cup of coffee, we want some of the finer particles (that contribute to sludge) to settle at the bottom of the brew.

I’ve found that a total brewing time of 10 minutes, from the first pour up to this point, is enough time for most of the brew to clear up. Your mileage may vary, so try pouring at 8 or 12 and see for yourself.
Pour Out and Enjoy!
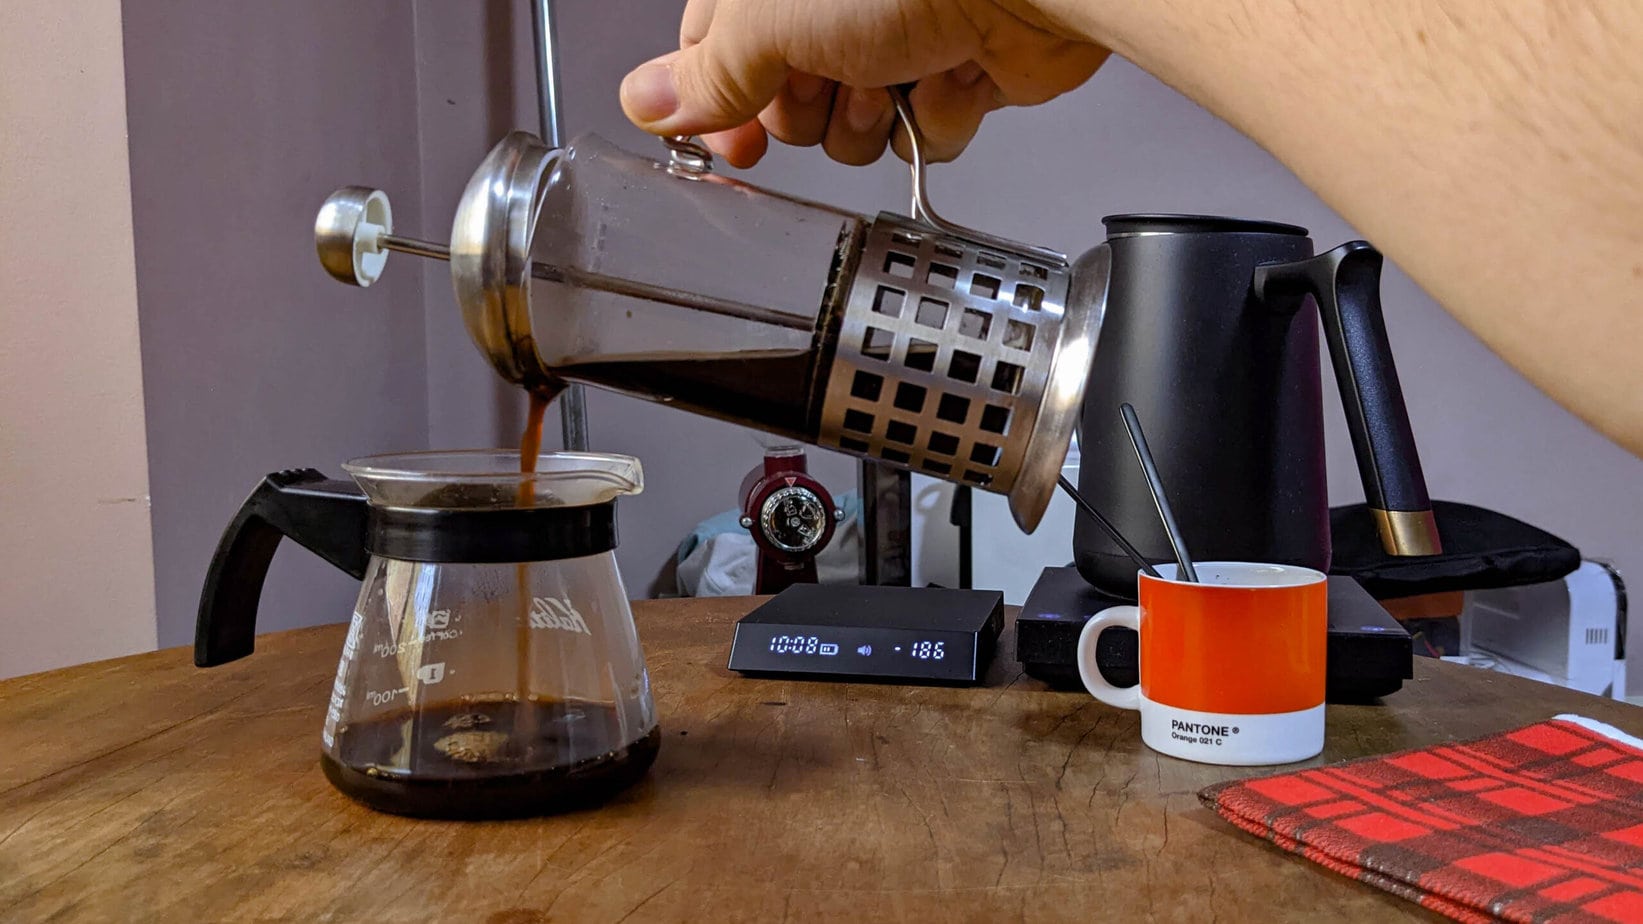
Using the partially-depressed plunger to strain, carefully pour the coffee into your serving vessel.
Don’t finish everything in the press — you want to stop before the visible sludge comes dribbling down the spout.
Enjoy your clean and silt-free French press coffee! Our 1:12 ratio tastes just as rich as a regular french press, but with clearer flavors and a much nicer mouthfeel, providing a full-bodied flavor profile.

Frequently Asked Questions
This method seems to involve steps that contradict the very essence of a French press brew. If you have any pressing questions about it (pun intended), then you might find your answer here!
Why does this recipe call for 10 minutes when most other recipes mention four?
For a detailed explanation, check out our article discussing the 1:12 brew ratio.
However, to summarize, a French press is a full-immersion brewer — basically, coffee and water all sit together during the brew, very unlike a pour-over.
As the water begins to extract coffee solubles in a French press, it begins to slow down at accepting new ones.
Thus, beyond the four to six-minute mark, coffee extraction has pretty much slowed down to the point that added time won’t adversely change the flavor experience, but it might improve texture and drinkability.
Why aren’t we plunging again?
The plunger assembly of a French press allows you to quickly push all of the coffee grounds down, allowing you to pour out the filtered brewed coffee.
However, this disturbs the slurry of coffee grounds at the bottom, allowing the finer particles to migrate upward into the brew.
Disturbing fine coffee particles within the brew is the primary culprit for cloudy, sludgy coffee. For this reason, we prefer gentle motions when it involves handling coffee grounds in the French press.
What’s this talk of ‘fines?’ Aren’t we using a coarse grind?
True, our recipe calls for a coarse grind. But the reality is that most home and even commercial grinders do not grind to a perfect, uniform size. You will have boulders (bigger than average) and fines (smaller than average) mixed in with sizes in between.
Fines are the enemy when it comes to most brewing methods. They create sludge in French presses and clog paper filters in pour-overs.
However, there’s also an argument that they add complexity and flavor benefits to the brew!
Can I use a fine grind for this no-plunge method?
A finer grind than you would use for a standard French press recipe is possible! A medium grind, similar to what you’d use on a drip coffee machine, shines with this method. You’ll still get a clean cup thanks to the skimming and waiting steps.
However, note that you may have to adjust your brew time because finer ground coffee will extract faster.
Conclusion
There are less fussy methods that get you a tasty coffee cup as soon as possible. But in my opinion, this no-plunge method is the ultimate way to make a French press for coffee enthusiasts.
It takes twice the time as a regular coffee but provides a full-bodied flavor that rivals the best pour-overs. It’s also become the only type of French press brew I’ll drink.
Try it out at least once, and see if you like it!
Happy Caffeinating!

