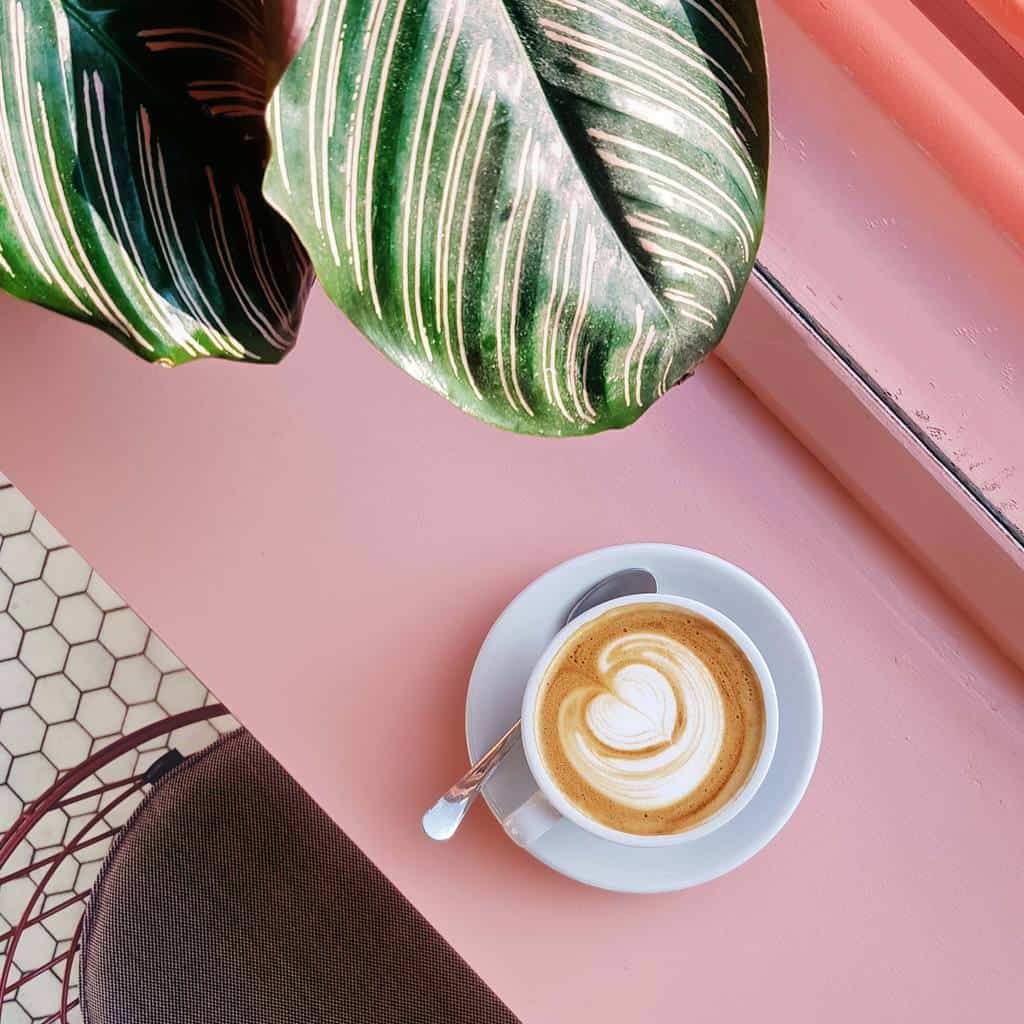
Whether you’ve been a fan of the drink for years or have just now become acquainted with the classic latte, you know there is nothing more satisfying than seeing a freshly poured work of art at the top of your cup.
Sure, we know it’s the rich flavors that make a good cup of brew, but its appearance matters, too. A carefully crafted image etched in foam elevates the coffee from good to great and almost immediately brings a smile to any caffeine enthusiast’s face
Maybe you decided to try to replicate the designs you’ve seen at your favorite coffee shop on your at-home brew, but unfortunately, you weren’t quite the barista you thought you were, and well, your art fell a bit flat.
We get it. A failed attempt at latte art is frustrating, but no worries; we’re here to help. Pouring impressive latte art is a skill you can master, and we’ve got all the info you need to do it!
But first, to answer the million-dollar question…
What’s the point of latte art?
Perfect latte art, while very cool, doesn’t make the popular beverage taste any different. So, why do baristas even bother to create a white foam design on top of the drink? And why do so many people get so giddy to see well-done patterns on top of their espresso drinks?
We’ll sum up the purpose of coffee art in one sentence: presentation is everything. When the barista slides the coffee cup across the counter to you topped with a foamy design, it lets you know that they prepared your beverage carefully and with effort and attention to detail. Plus, a successful latte pattern shows the customer that they are drinking a beverage with a quality espresso shot and perfect foam.
What Do You Need to Make Latte Art?
It doesn’t take very many tools to start creating beautiful coffee art. All you’ll need is:
- An espresso machine and a bag of coffee beans (whole if you’ve got a good grinder nearby, pre-ground if you don’t) — this is a must, considering espresso is the most critical latte ingredient.
- A steaming wand or automatic milk frother and a milk jug
- Cold milk
It Starts with the Milk

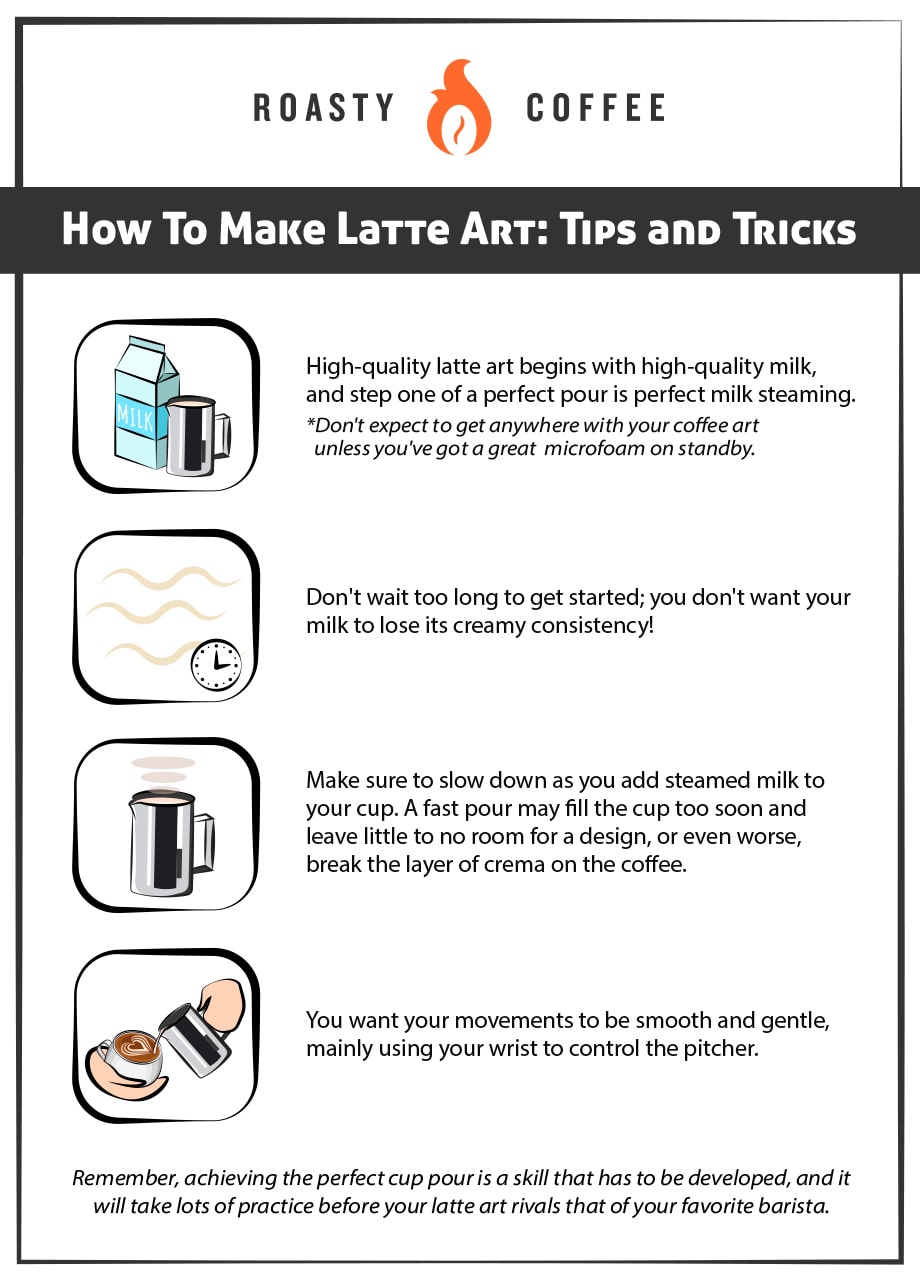
High-quality latte art begins with high-quality milk, and step one of a perfect pour is perfect milk steaming. Don’t expect to get anywhere with your coffee art unless you’ve got a great microfoam on standby.
Microfoam is the layer of finely steamed milk poured on the surface of your specialty drink. It’s a must-have if you plan on doing any artwork.
If you’re using a steaming wand and pitcher to foam your milk for latte-making, the first thing you’ll need to do is use the wand to let spurts of air into your milk — this process should create a hiss that sounds like tearing paper.
Then, you’ll need to angle your pitcher so that the wand begins to form a tornado in the milk, and the air bubbles travel through the entire volume of liquid. You’ll want to be sure your milk has developed a glossy texture, and when it begins to resemble wet paint, you’ll know you’re ready to add it to your espresso.
This is just a brief overview of the microfoam process. For more detailed instructions on mastering it with a steam wand, check out this article.
What kind of milk do you use for latte art?
Most pro latte artists swear whole milk makes for the most awesome latte art thanks to its higher fat and protein content, but what do you do if you’re one of the many coffee drinkers who don’t consume dairy?
We recommend making oat milk your non-dairy milk of choice for latte art. If you take the time to steam it correctly, it can hold its own almost as well as regular milk can! Plus, it doesn’t have any overpowering flavors that will alter the taste of your brew.
Can you make microfoam with a handheld frother?
Don’t feel left out of the latte art party if you don’t have an espresso machine with a steaming wand at your disposal. Of course, a good electric steamer makes the process much simpler, but it’s not necessary to create latte art.
You can use your nifty little handheld frother to prep your milk for latte art, but it’s going to take a lot of trial and error to figure out how to make microfoam with the right texture and consistency. A handheld frother should be your last resort for prepping your foam, as you’re more likely to get thicker foam with this tool, and that usually doesn’t work well when you’re trying to create patterns and designs on your joe.
If you don’t have a steaming wand on hand, your best bet for making a beautiful, velvety microfoam is to use a French press coffee maker. Just heat your milk, pour it into the brewer, and work the plunger until the milk has doubled in volume.
The Pouring Process
The espresso machine has brewed your shot, and the milk’s been steamed. Now, you’re ready for your first pour. But don’t wait too long to get started; you don’t want your milk to lose its creamy consistency! Take a deep breath, grab your steamed milk, and read along to find out how to create three popular latte art designs.
Now, you probably won’t be winning the World Latte Art Championship after reading our guide, but with a bit of practice, you’ll be able to create basic latte art. Keep at it, and soon enough, you’ll be on to more complicated designs and patterns.
The Heart
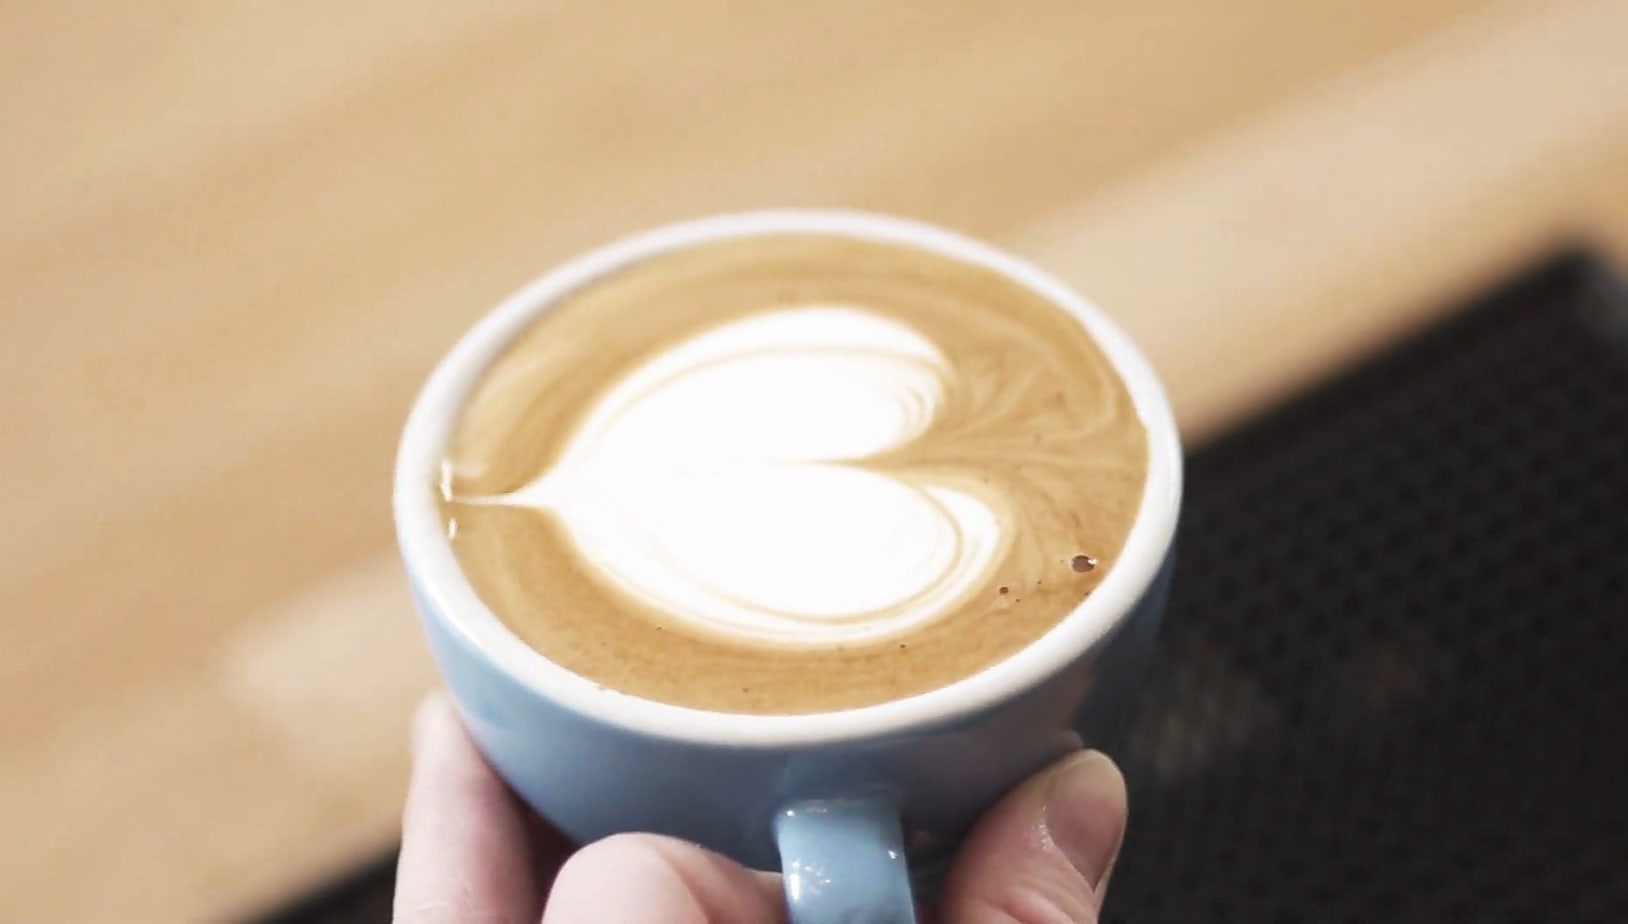
The first pattern in our guide to a creative cup of coffee is the heart. Though the design is simple, the symbol of love is an easy crowd-pleaser, and with just a bit of practice, you’ll be wowing your friends and family with an Instagram-worthy cup of joe in no time.
Start by holding your pitcher of steamed milk three to four inches above your shot of espresso. You’ll want your cup tilted at a 45-degree angle as you add the milk to the deepest part of the espresso. The milk should flow in a thin stream as you add it to your coffee, moving your wrist in a circular motion until the milk and espresso mixture reaches the edge of the cup.
Then, stop the pour, and move the pitcher’s spout as close to the espresso as you can. Pour the milk, slowly wiggling the pitcher side to side as a foamy white shape appears atop the crema (that’s the top layer of your espresso). As you pour, follow the flow of the milk foam until the pitcher’s spout is directly in the center of the drink, and keep pouring until the cup is full.
When you’ve run out of room for milk in the beverage, raise the pitcher above the latte, getting it close to the height it was when you started adding it to the coffee and pour a thin line of milk straight through the foam. This finishes the design and adds a clean, sharp tip to the bottom of the image.
Tulip
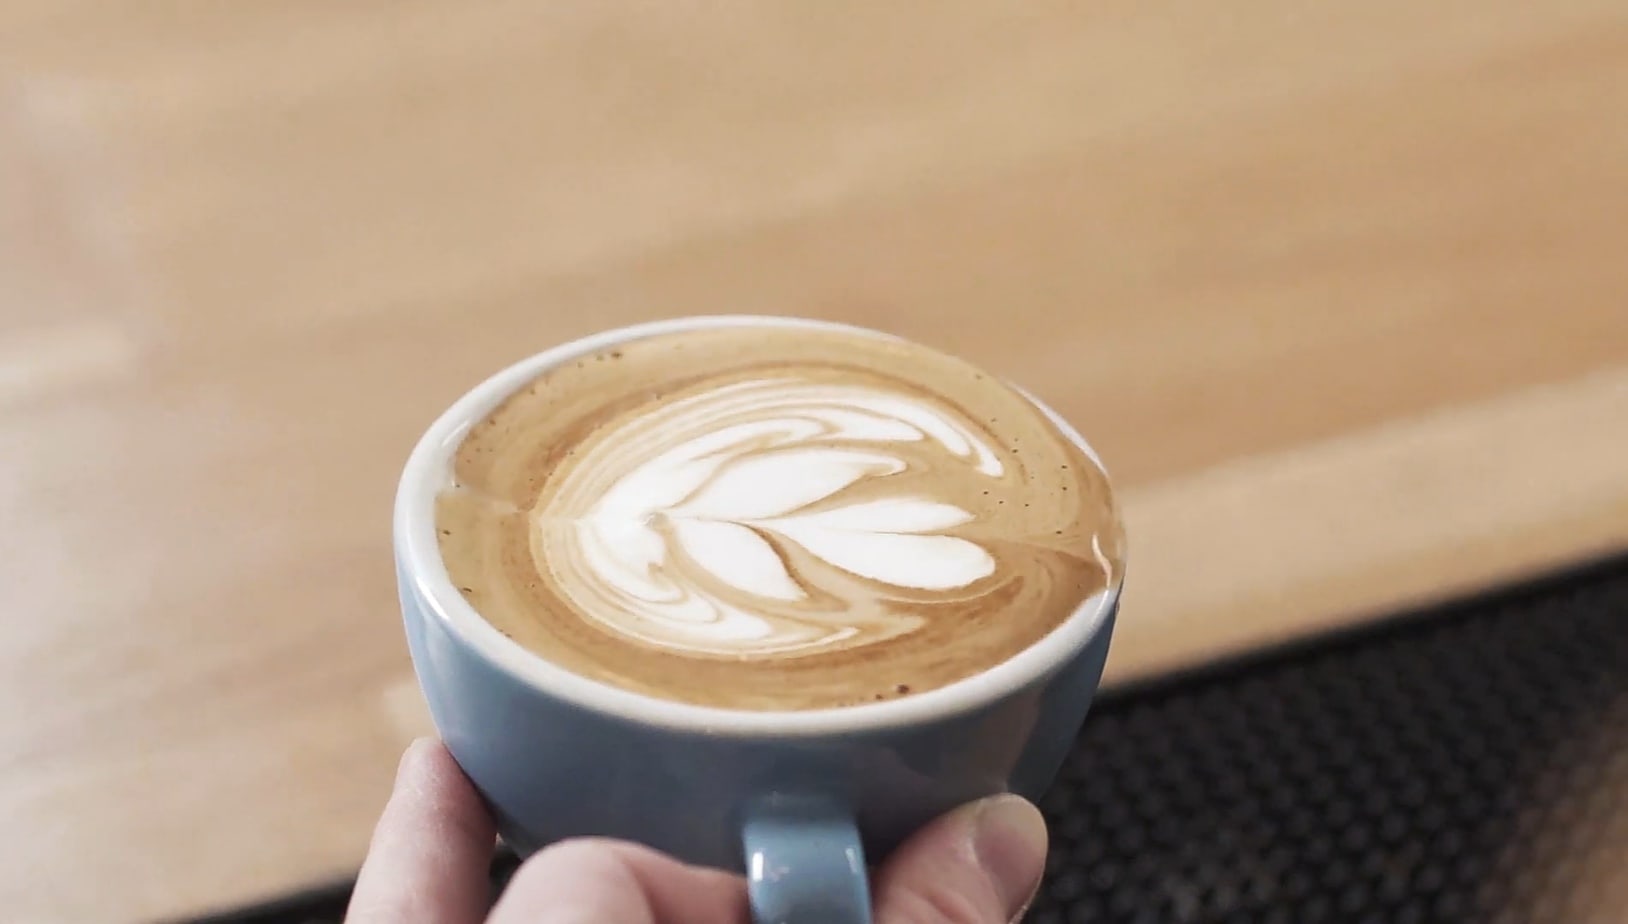
Here’s the good news: once you’ve mastered the heart, you’ll have no trouble at all learning to top the popular beverage with a tulip.
Because this design is just a series of hearts, you’ll want to begin with the same step: by adding a stream of milk to your espresso from just a few inches above the tilted cup, still moving the pitcher in careful circles until the coffee reaches the edge.
The key to crafting a tulip is to imagine your cup is divided into three sections: a bottom, middle, and top. Visualizing your drink in pieces will come in handy when it’s time to begin creating the image.
Begin creating the first piece of your tulip between the bottom and middle sections of your cup, wiggling the pitcher back and forth. When a small white shape appears, stop your pour, and begin creating the next piece of the design between the top and middle of your cup. When the second foam shape appears, stop the pour, and add the last part of the tulip at the top of the cup.
Once your cup is full and every piece of your tulip is formed, raise the pitcher above the latte and swipe a thin stream of milk down the middle of the tulip to complete the image.
Rosetta
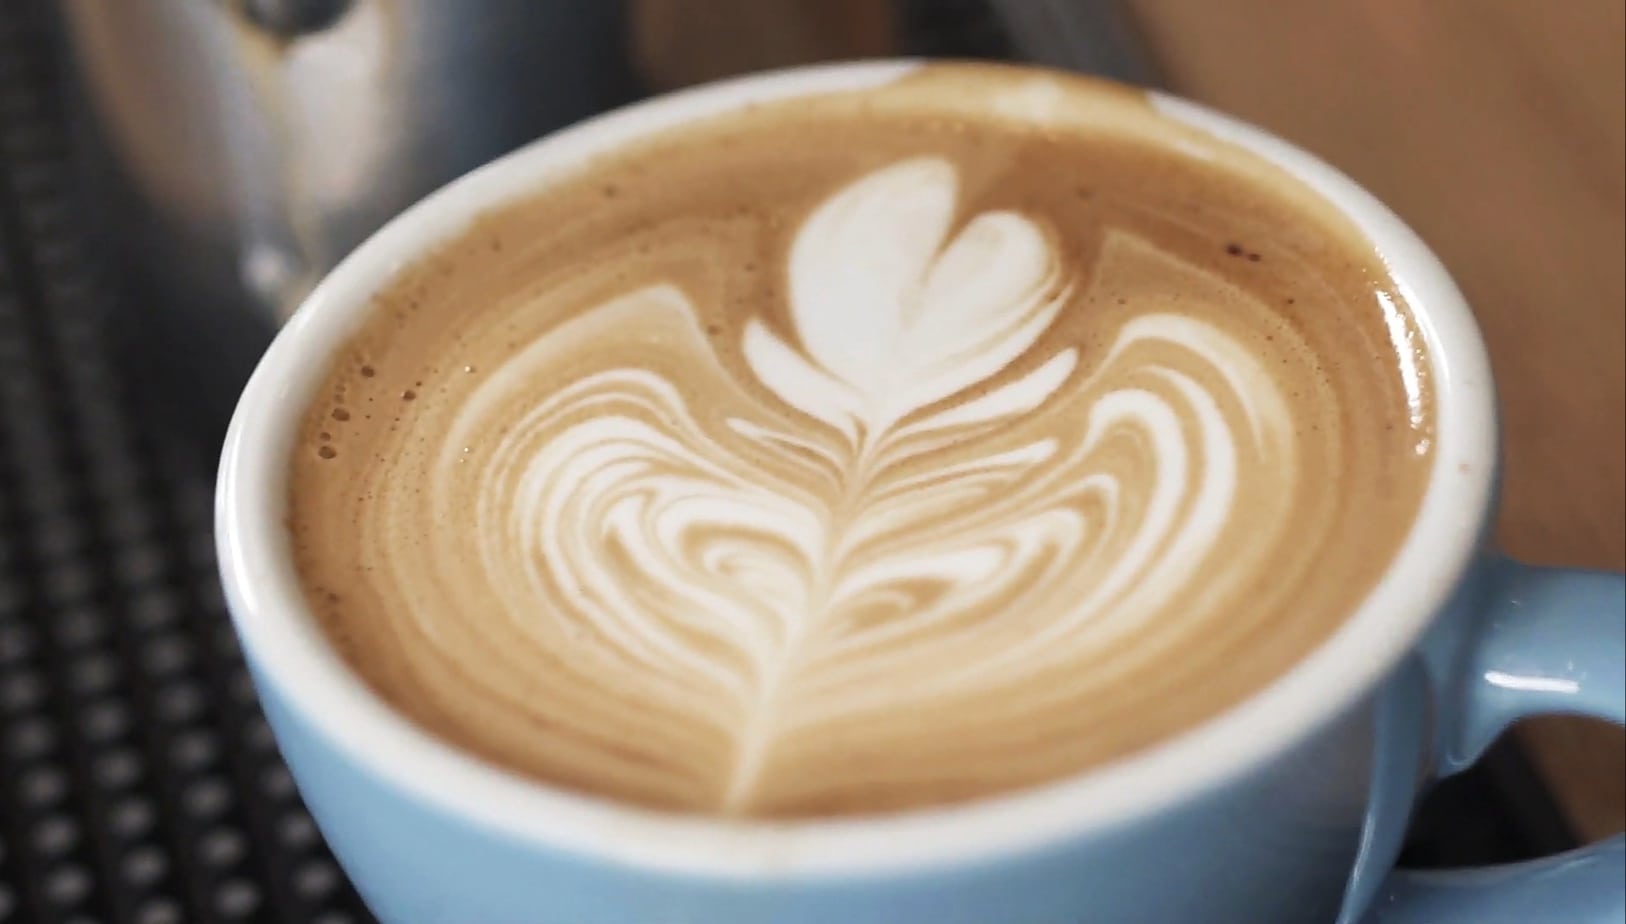
Last but certainly not least in our guide to latte art is the always lovely rosetta.
Resembling a leaf or a vine, this foam design requires a slightly more aggressive approach as you add the steamed milk to the tilted cup. While you’ll still need to pour the milk slowly, you should start with your pitcher’s spout as close to the crema as you can get it, wiggling the pitcher from side to side in tiny squiggles as the base of the rosetta begins to form in the coffee.
Once you have formed the base, start shifting the stream of milk from the bottom to the top of the cup, continuing to wiggle as you move. When you reach the top of the cup, dip the spout into the coffee and let the last piece of your design form, then lift the pitcher above your cup and finish off the design by running a small stream of milk down the middle of your artwork.
Common Mistakes
If your first attempt at the artwork on your home-brewed latte looks nothing like the foamy picture on the drink you get from your favorite shop, don’t be discouraged —try again!
Remember, achieving the perfect cup pour is a skill that has to be developed, and it will take lots of practice before your latte art rivals that of your favorite barista. Here are a few common mistakes to be aware of as you’re practicing your pours.
Pouring Too Fast or Too Slow
Though you’re eager to kickstart your morning with a good cup of coffee, make sure to slow down as you add steamed milk to your cup. A fast pour may fill the cup too soon and leave little to no room for a design, or even worse, break the layer of crema on the coffee, making the final foamy image less than impressive.
On the other hand, a too-slow pour makes the milk disappear below the surface of your espresso, totally erasing your design.
It’s going to take some trial and error to add your milk at the perfect speed, so be patient as you figure out what works best for your latte.
Too Much Arm Movement
Though all latte art requires movement, it’s important to remember that when you create your milk foam image, you want your movements to be smooth and gentle, mainly using your wrist to control the pitcher. More careful movements also make it easier to control the flow of the milk into the coffee.
Mediocre Milk
Mastering milk is the most time-consuming step of the process, but it’s perhaps the most significant. The key to making shop-worthy latte art is an excellent microfoam, so take the time to master the steaming process before tackling art.
Because it’s the steamed milk that creates the art itself, your milk must be just foamy enough to stay intact on your latte, but not so big and bubbly that it overwhelms the coffee. Too many bubbles may mean you’re injecting too much air into the liquid as you steam, and too few bubbles will break the crema immediately, leaving your drink with no surface for a design to sit on.
It’s also crucial to keep an eye on the temperature of your milk. Hotter milk is harder to control while pouring, which means your art may not turn out exactly as you hoped. The ideal milk temperature for a latte is around 150 degrees, but if you don’t have a thermometer nearby, use your hand as an indicator. If the pitcher becomes too hot to hold or touch, the milk’s temperature may be too high for your latte art.
Know Before You Pour…
Can you make latte art with regular coffee?
Yes, you can make latte art with regular coffee, but, unfortunately, the milk foam designs won’t be quite as pronounced. But remember that espresso is richer and more robust than regular coffee, so the “latte” you make with average joe will be weaker than one made with authentic café-style espresso. If you insist on filling your cup with drip, brew it stronger than you usually would.
What cup is best for latte art?
Technically, you can pour beautiful, foamy artwork in any coffee cup if you’ve spent enough time practicing the skill. But most baristas prefer a latte or cappuccino cup, as their wide rims and narrow bottoms provide a pretty large canvas for a barista to work with.
Do you stir latte art?
There isn’t a need to stir your latte before you drink it. The steamed milk mixes with the hot shot of espresso once it’s added to the cup, so by the time you’ve finished pouring, the two liquids are already thoroughly combined.
Plus, destroying that beautiful rosetta pattern atop your drink with a spoon is kind of a bummer.
What is free pour latte art?
While some baristas use things like stencils and latte art pens to create elaborate designs on the beverage’s surface, free pour latte art doesn’t make use of any of those things. A milk pitcher and steamed milk are all that’s needed to create free pour latte art. Whether or not the design turns out as planned is up to the barista and his skill level.
Practice!
Your favorite barista didn’t master the tulip or rosetta on day one, and chances are, you won’t, either.
Like any other skill, learning to make latte art is a process that requires both patience and perseverance, so you’ll need to fire up the espresso maker and get your steaming wand ready to go as often as possible and before long, you’ll be pouring like a pro!
Happy Caffeinating!

